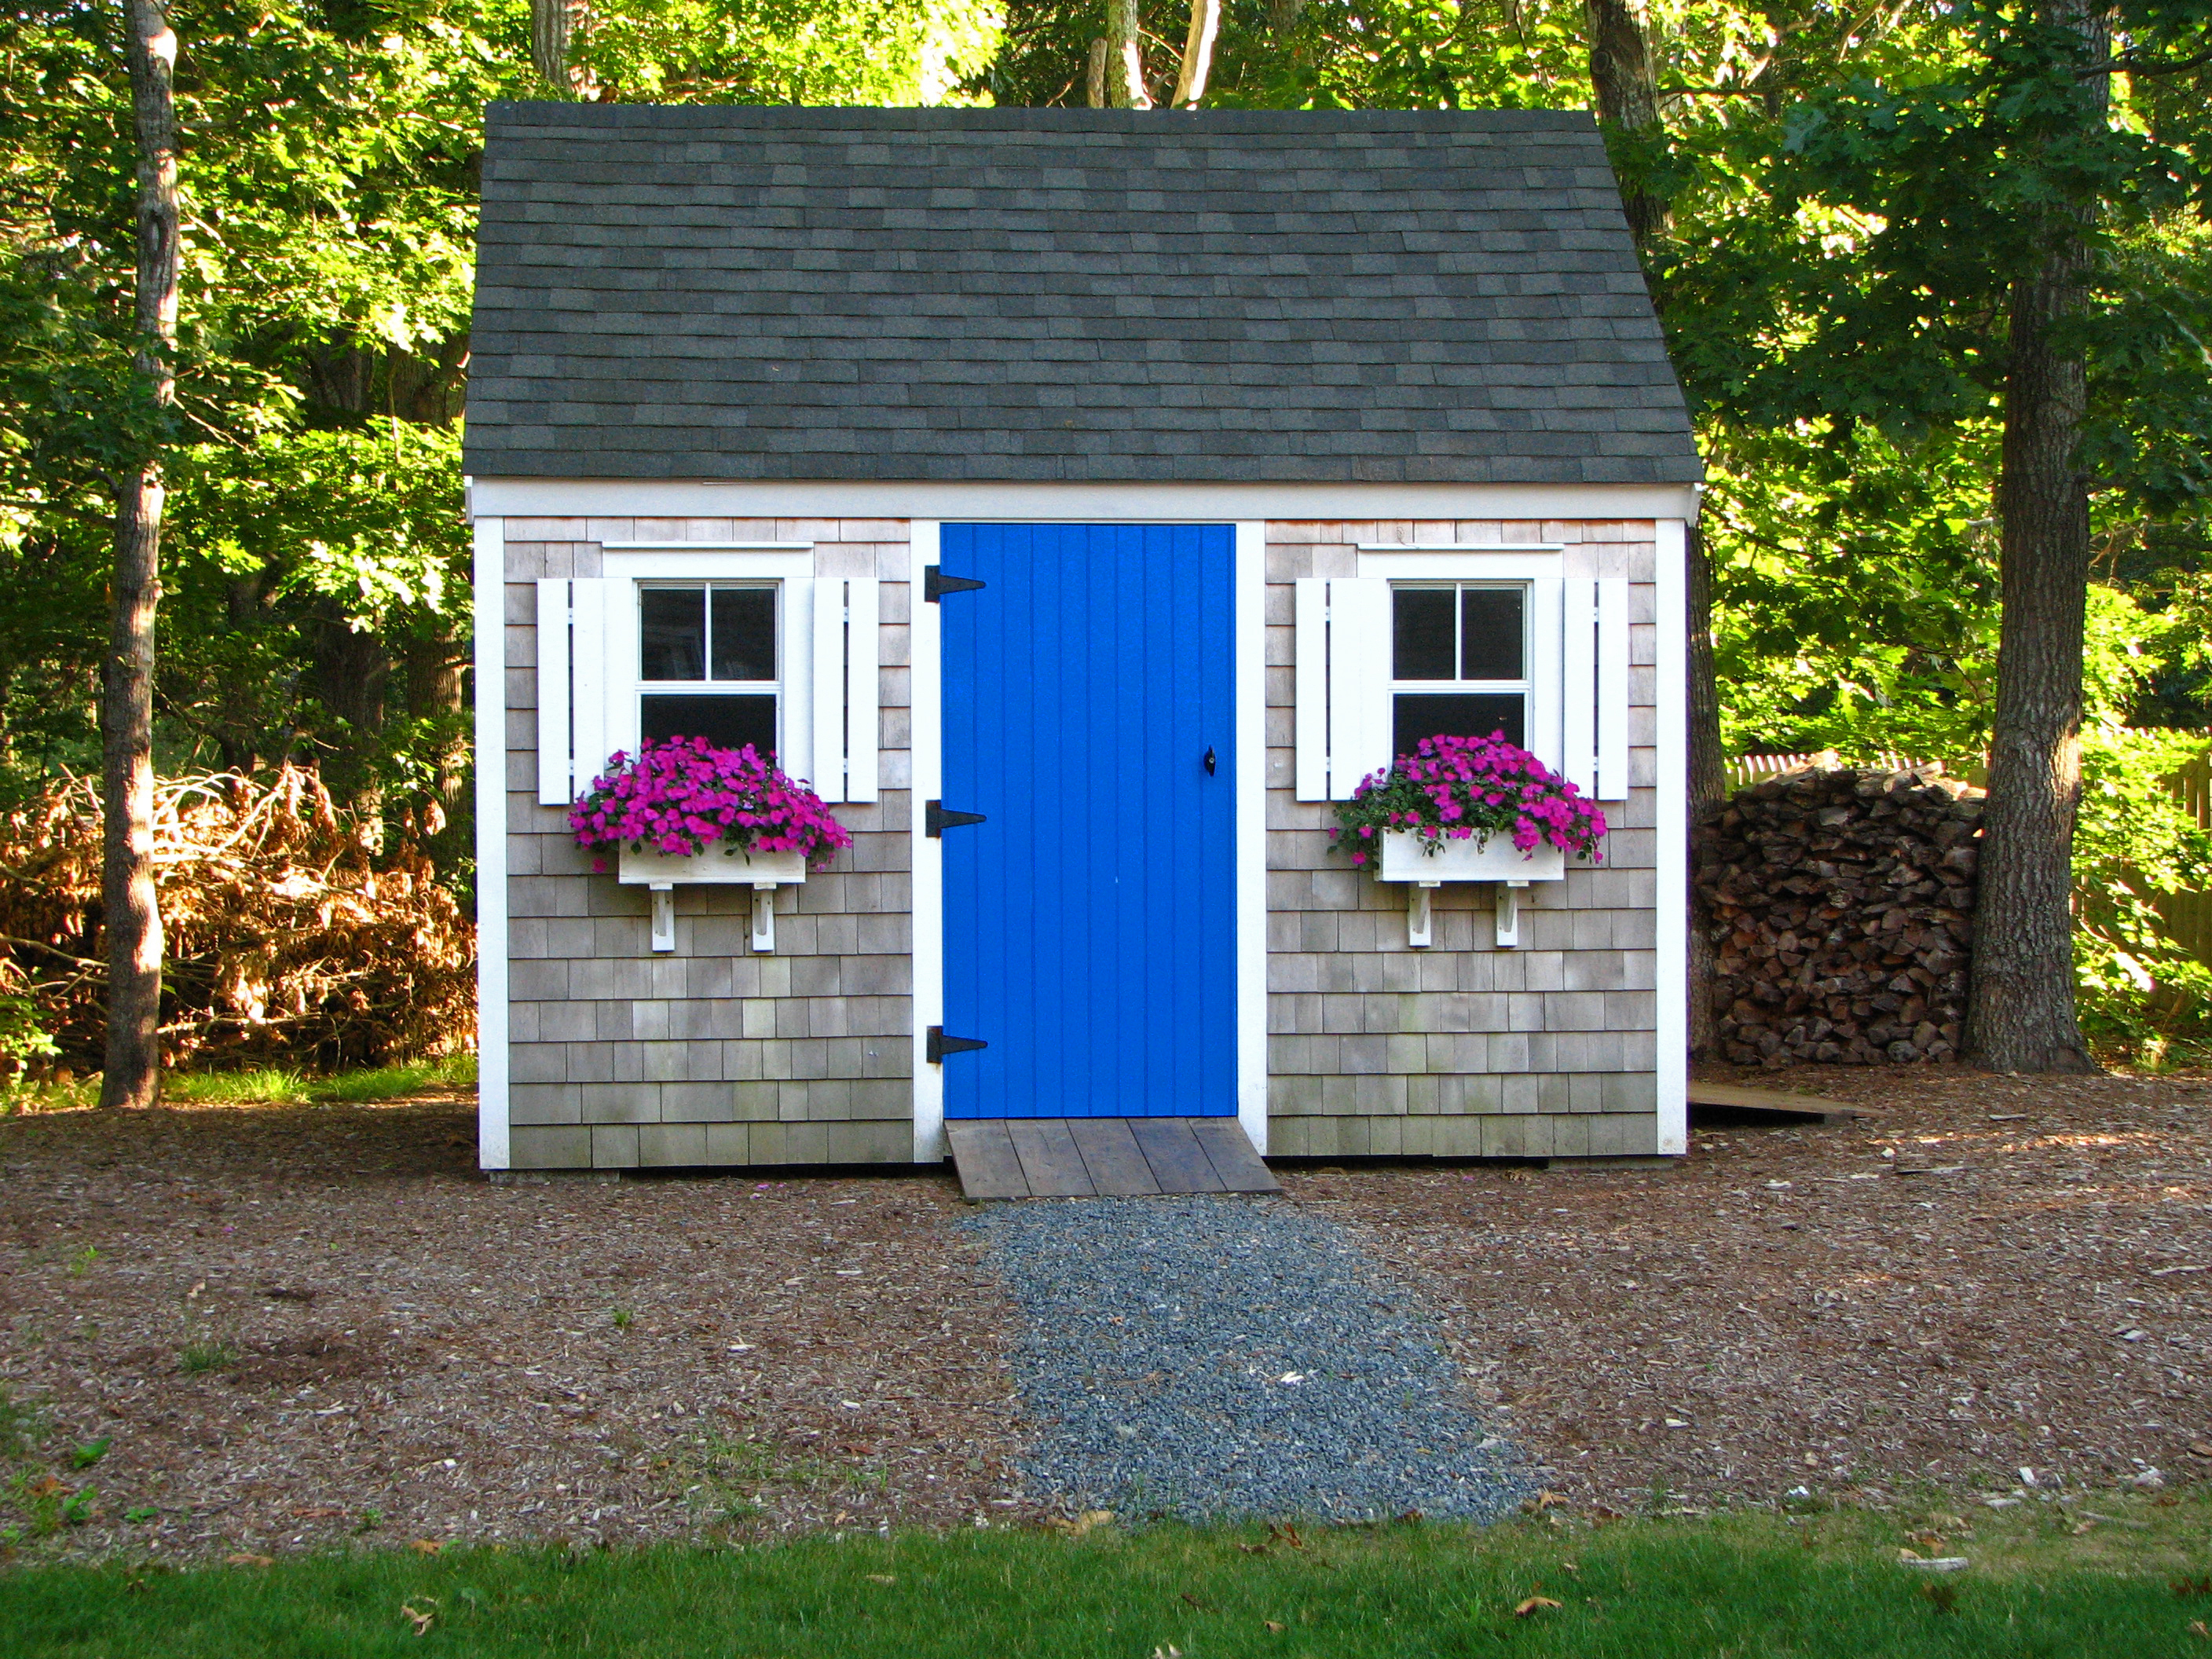
An outdoor shed is a fantastic way to
create an extra area of storage for the things that you need most when spending
time outside. Whether you need a place to keep your lawn mower and snowblower,
or you need a space for your garden supplies and various other things that you
don’t have the room to store in your home, the right shed will be able to
withstand the elements and protect your belongings throughout the year. If
you’re ready to build your own shed for your lovely backyard, check out the
tips below to get started.
 |
| Image Source |
First, Consider the Materials
Before getting started, think about the
materials that you want your shed to be made of. Sure, you could head out to a
local hardware store and purchase one of those premade plastic sheds, but those
aren’t always the most unique or aesthetically pleasing. An alternative would
be a steel shed like those sold online by Armstrong
Steel, which you can build yourself by assembling the parts rather easily.
These are also durable and Armstrong Steel offer the option to customize it to
your preferences, so they offer a lot of flexibility in terms of how you can
use them. Or, you could go the more traditional route and use wood to construct
your one-of-a-kind shed all on your own.
Set the Foundation
First, you need to set
the foundation for your shed, ensuring that the ground is totally level.
The use of cinderblocks around the perimeter of the foundation can help keep
animals out, but if you are planning on adding electricity to your shed, be
sure to carve out the channels for that as well. This can get complicated, so
you might need to hire experts if this is the route that you’re planning on
taking and you aren’t sure how to route the electrical components into the
shed.
Create the Frames
Using plenty of 2x4s, the next step is to
build out the frames for the walls and the roof of your shed. Once all of these
are set in place, you will be able to attach the actual walls and roof to them,
so take your time to figure out how big you want your shed to be, and carefully
space the 2x4s so that they will provide the structure with strength. Make sure
you leave room for your door, as well as any windows
that you would like to have in the shed. Steel sheds are again easier here as they come
ready to assemble.
Add the Walls, Roof, and Door Before Painting
When you are ready to add the walls, you
can either use plywood and nail it into the frame securely, or use a premade
steel kit. The same can be done with the roof, which you can add shingles to in
order to protect it from the elements. The last part would be to install the
door and add the windows. Then, it’s a matter of painting the shed and
customizing the interior with shelves to make it easier to store everything you
need in an organized fashion.
As you can see, there are several steps
involved in building a shed for your backyard, but once you’re done, you’ll be
so proud of the work that you’ve completed.


